Creating realistic AI videos has quietly become one of the most confusing workflows in the modern creator stack. Not because the tools are weak, but because the mental model most people use is wrong.
Most tutorials push you toward complexity: timelines, motion controls, facial rigs, multi-pass generations. The result? People assume realistic AI video is fragile, expensive, and reserved for power users.
The truth is simpler. Much simpler.
Quick Answer: What Actually Works
If you understand how modern image-to-video models actually work, you realize they are not animating characters. They are interpolating between visual states. When you give them clean, consistent start and end frames, the video becomes a smooth transition problem rather than an animation problem.
One image forces the model to guess. Two images give it structure. That difference is why this workflow works.
You are not animating a person. You are guiding a camera.
The Two-Frame Workflow Overview
Here's the entire process at a high level:
- Start with a high-quality reference image
- Generate a first ultra-realistic frame that establishes identity and environment
- Generate a second frame that preserves identity but changes framing
- Convert both frames into a short video
No timelines. No keyframes. No animation tools. Just reference control.
Step 1: Start With a Strong Reference Image
Everything begins with a reference image. This image does not need to be AI-generated. In fact, real photographs often work better.
The goal of the reference image is not beauty. It is clarity. You want:
- Clear facial features with natural lighting
- Realistic skin texture without heavy filters
- Neutral expression with minimal motion cues
A high-quality image from Pinterest works well because these images already resemble real-world photography. This image becomes your identity anchor. Every generation that follows borrows from it, so choose carefully.
Step 2: Upload to Masonry and Edit
Upload the reference image to Masonry at masonry.so. Instead of forcing timelines or animation tools, Masonry lets you work entirely through reference-based edits.
After uploading, use Edit Image (not Generate). This is critical: editing preserves structure, while generation replaces it. This single choice is what keeps identity stable across the entire workflow.
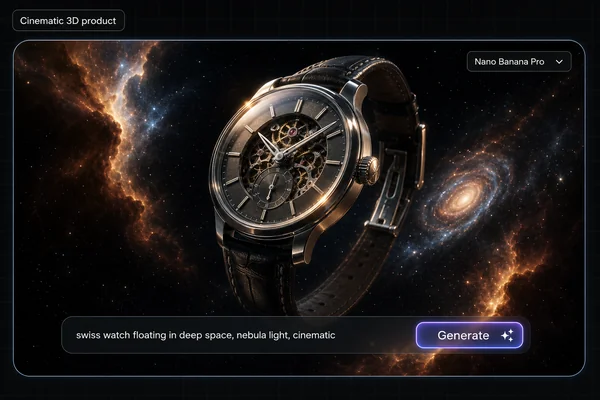
Step 3: Generate Your First Frame (Establishing Shot)
Choose Google Nano Banana Pro and write a detailed prompt that describes your scene with ultra-photorealistic detail. Focus on:
- Exact pose and environment details
- Skin rendered with visible pores, natural freckles, subtle imperfections
- Natural lighting conditions (daylight, warm tones)
- Specific props and accessories the subject is holding
- Color grading that matches real vacation photos, not cinematic LUTs
Prompt: First Image Generation
Create an ultra-photorealistic lifestyle beach photograph of a young adult woman (clearly 20s) sitting relaxed on a sunbed at a tropical beach resort. She is seated slightly sideways on an orange-and-white striped beach towel, one knee bent toward the camera, the other leg folded naturally, giving a casual, relaxed posture. The woman has long, wavy dark brown hair, worn loose and slightly tousled by the sea air. Her face is soft yet confident, with defined brows, almond-shaped eyes, full lips, and a calm, relaxed expression, looking directly at the camera. Her skin is sun-kissed and ultra-realistic: visible pores, natural freckles, subtle redness from sun exposure, soft highlights on shoulders and legs, no smoothing, no beauty filters. She is wearing a minimal bikini in neutral tones, tasteful and realistic, fitting naturally without exaggeration. In her hands, she holds a fresh young coconut, partially opened, with a white straw inserted, positioned near her face. Her hands are adorned with gold jewelry: chunky gold rings, a gold bracelet, and a white bangle bracelet, all catching natural sunlight with realistic reflections. The environment is a real tropical beach setting: fine sand beneath her, a rustic stone structure and pebbled wall behind, wooden beams above, and soft beach shadows. No fantasy elements. Lighting is natural daylight, warm and soft, coming from the side, creating gentle shadows and realistic highlights on skin, coconut shell, jewelry, and towel fabric. Color grading is warm and natural, with true skin tones, realistic oranges, sandy beiges, and muted tropical colors. No cinematic LUTs, no HDR, no stylization. The image must look like a real vacation photo, shot on a high-end smartphone or DSLR, true 4K resolution, sharp but natural, imperfect, human, and completely free of AI artifacts, plastic skin, over-sharpening, or illustration effects.
This image becomes your start frame. Inspect it closely. Zoom into the skin, hands, and any props. If it does not pass as a real photo, regenerate it.
Step 4: Generate Your Second Frame (Close-Up Anchor)
Upload your generated first frame back to Masonry and click Edit Image again. This time, prompt for a close-up version of the same scene.
The key elements to specify:
- Use the provided reference image as the primary identity, pose, and realism anchor
- Frame from upper chest to just above the head
- Camera slightly closer to face than in the reference
- Same pose, props, and body orientation
- Skin rendered with extreme realism: visible pores, natural freckles, tiny imperfections, fine vellus hairs
- Slightly shallower depth of field on the background
Prompt: Second Image Generation
Use the provided reference image as the primary identity, pose, and realism anchor. Create an ultra-photorealistic close-up portrait of the same woman, framed from upper chest to just above the head, with the camera slightly closer to her face than in the reference, while preserving nearly the same seated pose and body orientation. She is still holding the same coconut with both hands, positioned naturally near her chest, but there is nothing in her mouth (no straw touching the lips). Her facial expression is soft and relaxed with a gentle, natural smile, subtle and realistic, not exaggerated, not posed. Her facial structure, proportions, and identity must remain consistent with the reference image. No face reshaping. Skin must be rendered with extreme realism: – clearly visible pores – natural freckles across cheeks and nose – subtle redness and sun-kissed tones – tiny imperfections, small moles – fine vellus hairs – realistic texture variation No smoothing, no beauty filter, no plastic skin. Eyes remain natural and expressive, with realistic iris texture, natural moisture on the waterline, non-pure-white sclera, and irregular eyelashes. Lighting remains natural tropical daylight, soft and directional, consistent with an outdoor beach environment. The background stays consistent with the original setting but rendered with a slightly shallower depth of field. Color grading is true-to-life, warm and natural, no cinematic stylization. The final image must look like a real high-resolution vacation photograph, shot on a modern smartphone or DSLR in true 4K quality, brutally realistic, human, imperfect, and completely free of AI artifacts.
This becomes your end frame.
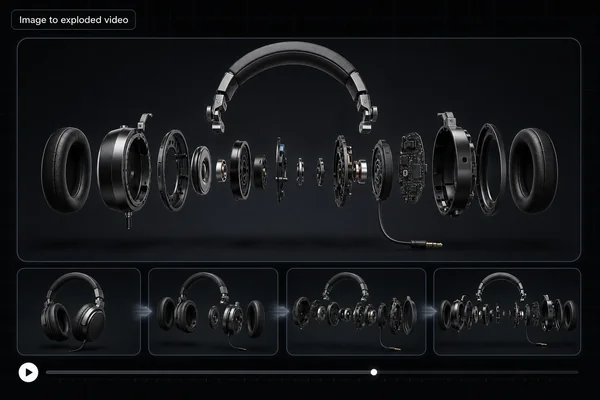
Step 5: Convert Frames Into Video
Select both images inside Masonry and click Make Video. Choose Kling 2.6 Pro and set the duration to five seconds.
Five seconds is the sweet spot. Long enough to feel natural, short enough to avoid identity drift.
Step 6: The Video Prompt (This Is Critical)
Your video prompt needs to specify exactly what should and should not happen:
- Seamless transition from wider shot to close-up
- Complete preservation of identity: facial features, skin texture, hair, proportions, pose, outfit must remain identical across every frame
- Props must remain continuously visible and consistent (no disappearing, reappearing, or morphing)
- Camera movement should replicate handheld smartphone footage with subtle natural micro-shakes and a slow continuous forward push
- Subject remains almost completely still. Only minimal natural movements: gentle breathing, a tiny blink, slight micro-expressions. No talking or lip movement.
- No cuts, no artificial zoom effects, no stylization
- Background elements must exhibit realistic parallax as the camera moves forward
Prompt: Video Generation
The video must transition seamlessly from a wider outdoor shot to a close-up of the woman while maintaining absolute visual consistency throughout. Complete preservation of her exact identity is essential: facial features, skin texture including visible pores and natural imperfections, hair movement and color, body proportions, pose, and outfit must remain identical across every frame. The straw must remain continuously visible and consistent throughout the entire video. It must never disappear, reappear, shift unnaturally, or morph. The camera movement should replicate handheld smartphone footage with subtle natural micro-shakes and a slow continuous forward push toward her face. This camera movement is the only source of motion. The woman remains almost completely still. Only minimal natural movements such as gentle breathing, a tiny blink, or slight micro-expressions may occur. No talking or lip movement. No cuts, no artificial zoom effects, no stylization. Lighting remains natural daylight. Background elements must exhibit realistic parallax as the camera moves forward. Avoid frozen backgrounds, plastic skin, AI artifacts, exaggerated cinematic motion, or inconsistent props. The final result must feel like real smartphone footage captured by a person in real life.
The final result should feel like real smartphone footage captured by a person in real life.
Why This Workflow Actually Works
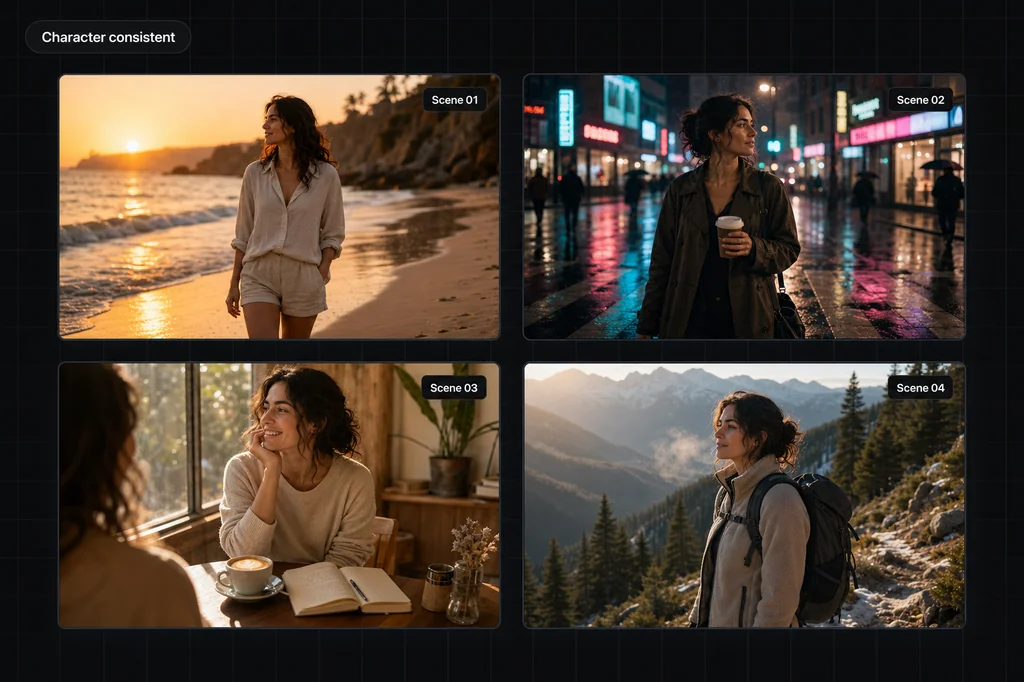
This workflow works because it removes uncertainty. You lock four things:
- Identity (same face, same person)
- Pose (same body position)
- Lighting (same environment)
- Environment (same background, same props)
The model only solves one problem: perspective transition. That is where modern AI video models perform best. When you reduce degrees of freedom, quality goes up.
Pro Tips for Better Results
- Always use Edit Image, never Generate from scratch after your reference is set. This preserves identity anchoring.
- Be extremely specific about skin texture in your prompts. The phrase "no smoothing, no beauty filter, no plastic skin" makes a measurable difference.
- Keep props simple and consistent. Complex hand positions or multiple small objects increase the chance of artifacts.
- Five seconds is optimal for this workflow. Longer durations increase identity drift risk.
- If your first generation has issues, regenerate. Do not try to fix it in post. Starting clean is faster.
The Bottom Line
Realistic AI video is not about mastering complex animation tools. It is about understanding what these models actually do well: interpolating between visual states.
Give them two good frames. Lock identity, pose, lighting, and environment. Let the model handle the camera movement.
That is the workflow. No timelines. No keyframes. No animation expertise required.
Start with a reference image, generate your start and end frames in Masonry, and let the video model do what it does best.
For the video models that handle this best, see our Kling 3.0 and Seedance 2.0 guides.