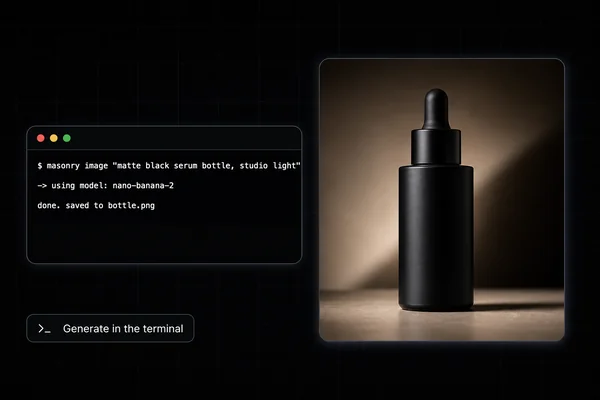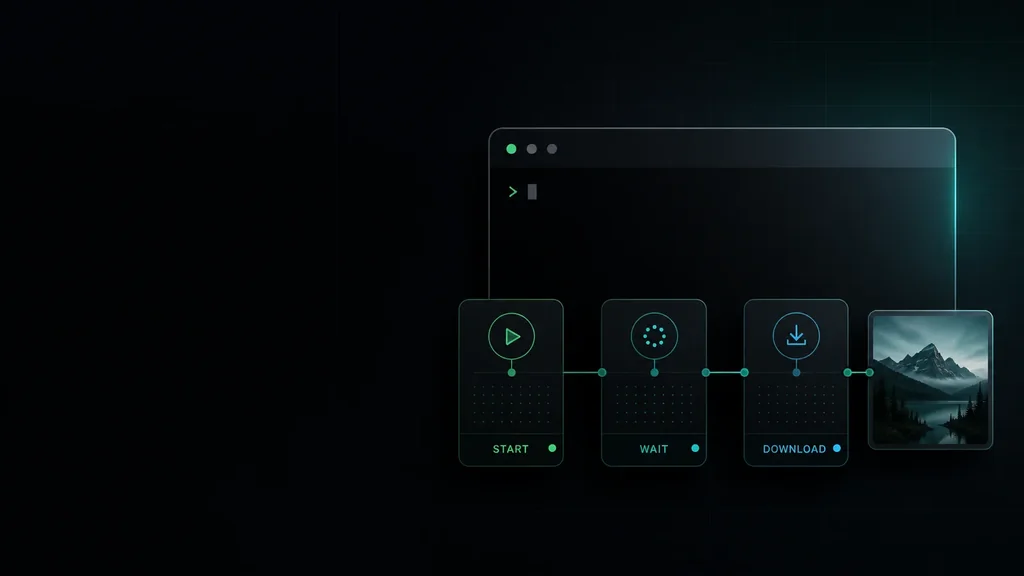
Claude Code can generate an image or video when you give it a shell command that creates the file. The dependable workflow is not a magical plugin: start a hosted job, retain the job ID, wait for completion, download the result to an explicit path, and inspect the file before referencing it in code.
We checked the installed Masonry CLI and authenticated catalog on 4 August 2026. The catalog returned 30 image routes and 29 video routes. We also ran the Claude initializer in a clean directory and found a caveat worth knowing before you automate it: the generated command files currently contain a hard-coded binary path and a stale default model. The direct CLI workflow below is the part that worked end to end.
Quick answer: the working command sequence
# run the package entry point npx @masonryai/cli # connect your Masonry account masonry login # inspect current routes and the selected route's contract masonry models list --type image masonry models params gpt-image-2 # start a pinned image job masonry image "a minimalist mountain logo, flat vector" \ --model gpt-image-2 \ --dimension 1536x1024 # use the returned ID masonry job wait <job-id> masonry job download <job-id> --output ./public/mountain-logo.png
For video, use the same job lifecycle:
masonry models list --type video masonry models params veo-3.1-fast-generate-preview masonry video "slow dolly over a misty forest at dawn" \ --model veo-3.1-fast-generate-preview \ --aspect 16:9 masonry job wait <job-id> masonry job download <job-id> --output ./public/misty-forest.mp4
Do not assume the generation command saved a file merely because the job started. A successful submission and a downloaded artifact are two separate states.
What we verified
The installed binary identified commit 439ec95. Its top-level help exposed image, video, models, job, history, login, and init commands. The authenticated catalog returned 30 image routes and 29 video routes, not one permanent list of model names.
The generation contract was asynchronous:
masonry imageormasonry videosubmitted a job and returned an ID.masonry job status <job-id>inspected the current state.masonry job wait <job-id>blocked until the job completed or failed.masonry job download <job-id> --output <path>wrote the finished asset locally.
That separation matters in an agent workflow. If the agent writes <Image src="/hero.png" /> immediately after submission, the code may reference a file that does not exist yet. Require the download step to succeed and then verify the file before editing the component.
Ask Claude Code for the whole acceptance contract
A useful request names both the creative output and the filesystem outcome:
Generate a 1536×1024 landing-page hero with GPT Image 2. Save it to
public/hero.png. Wait for the Masonry job to finish, download it, verify the file exists and opens correctly, then reference it from the page. If generation fails, report the job error and do not add a broken image path.
This prompt gives the agent five checkable responsibilities: route, dimensions, output path, failure behavior, and verification. It also keeps the code change conditional on a real artifact.
The direct shell sequence is enough; Claude Code does not need a plugin or MCP server to run it:
masonry image "dark control room with glowing dashboards" \ --model gpt-image-2 \ --dimension 1536x1024 masonry job wait <job-id> masonry job download <job-id> --output ./public/hero.png
For a reference-led image or image-to-video job, inspect the selected route before inventing flags:
masonry models params <model>Some routes accept --image, repeated --ref values, a seed, duration, audio controls, or a last frame. Others do not. The provider's maximum feature set and the hosted Masonry route are not necessarily identical.
The current masonry init claude-code caveat
The initializer says it creates three project-local entries under .claude/commands/:
generate-image-masonry.mdmodels-masonry.mdjobs-masonry.md
That is what appeared in our clean-directory test. The generated files were not ready to trust unchanged, however. They hard-coded ./bin/masonry, included a developer checkout location, and told Claude to default to the older imagen-3.0-generate-002 route. The CLI itself was installed elsewhere, and the live catalog contained newer routes.
Until the initializer template is corrected, use one of these safer options:
- Use direct commands. Ask Claude Code to run the verified
masonrycommands above. This requires no generated command files. - Inspect and repair the generated files. Replace the hard-coded binary reference with
masonry, remove machine-specific paths, replace stale model defaults with live discovery, and test one disposable output before committing the files. - Do not use
--forcecasually.masonry init claude-code --forceoverwrites the generated entries. Review the diff before accepting it in a project with custom commands.
Anthropic still supports existing .claude/commands files, but its current extension model also includes skills. The important question is not the folder name; it is whether the generated instructions call a real binary, discover current routes, handle asynchronous completion, and write the promised file.
Route discovery beats copied model lists
The live check returned 30 image routes and 29 video routes across generation, editing, upscaling, reference-image, lip-sync, and video-editing jobs. That count is more useful than advertising a static "50+ models" slogan, but it is still a dated observation.
Use these commands as the source of truth at execution time:
masonry models list --type image
masonry models list --type video
masonry models params <model>
Pin the model in any reproducible script. The installed image help still displayed an older default, so omitting --model can silently put the job on a route you did not evaluate.
The same rule applies to parameters. In our text-rendering run, the model parameter view advertised a provider-style --size flag, while the top-level image command rejected --size and accepted --dimension 1024x1024. Treat masonry image --help, the live route contract, and a one-file smoke test as a three-part check before a batch.
A five-minute setup acceptance test
Before asking an agent to generate production assets, verify:
| Check | Pass condition |
|---|---|
| Authentication | masonry models list --type image returns the authenticated catalog without exposing a raw provider key |
| Route | The exact model appears in the live list and masonry models params <model> returns its current inputs |
| Submission | The generation command returns a job ID that the agent records |
| Completion | masonry job wait <job-id> exits successfully or the agent reports the failure |
| Output | masonry job download ... --output <path> creates the promised file at that exact path |
| Verification | The agent checks file type, dimensions or duration, and a visual acceptance criterion before editing code |
| Cost boundary | A batch estimate uses the current route cost and expected rejection rate |
One accepted test file is more valuable than a polished integration snippet that has never been executed.
Honest operating notes
- Masonry is a hosted generation service. Jobs need network access, an authenticated account, and sufficient credits.
- Image and video generation are asynchronous. Video commonly takes longer, but do not infer a route ranking from one queue observation.
- There is no universal best model. Compare the same brief and acceptance sheet across current candidates.
- Generated product imagery and embedded text still require review. A beautiful output can change a product detail, digit, or punctuation mark.
- Keep job IDs and output paths in logs. They are the minimum audit trail for reproducing a failed asset step.
Bottom line
Claude Code can generate media without leaving the terminal when the workflow is explicit: discover a live route, start the job, wait, download to a known path, verify the asset, and only then change the code. The direct Masonry commands pass that contract today. The project initializer needs inspection before use because its current templates contain machine-specific and stale instructions.
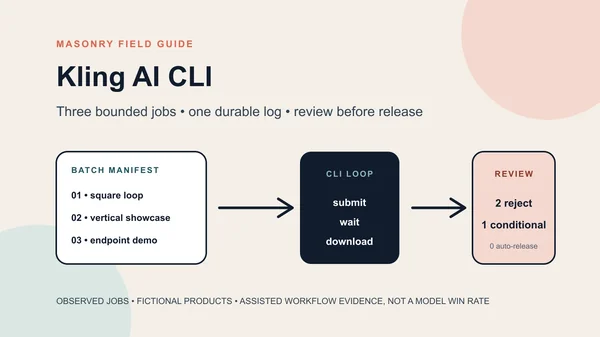
Start with the Masonry CLI page, compare the surrounding tool choices in our Claude Code image tools guide, or move from one command to a bounded merchant batch with the Kling AI CLI product-video workflow. Use the AI image prompting guide to turn a vague creative request into a testable brief.